HTTP is not just for serving up web pages. It is also a powerful platform for
building APIs that expose services and data. HTTP is simple, flexible, and ubiquitous. Almost any platform
that you can think of has an HTTP library, so HTTP services can reach a broad
range of clients, including browsers, mobile devices, and traditional desktop
applications.
ASP.NET Web API is a framework for building web APIs on top of the .NET Framework. In this tutorial, you will use ASP.NET Web API to create a web API that returns a list of products.
ASP.NET Web API is a framework for building web APIs on top of the .NET Framework. In this tutorial, you will use ASP.NET Web API to create a web API that returns a list of products.
Software versions used in the tutorial
Create a Web API Project
In this tutorial, you will use ASP.NET Web API to create a web API that returns a list of products. The front-end web page uses jQuery to display the results.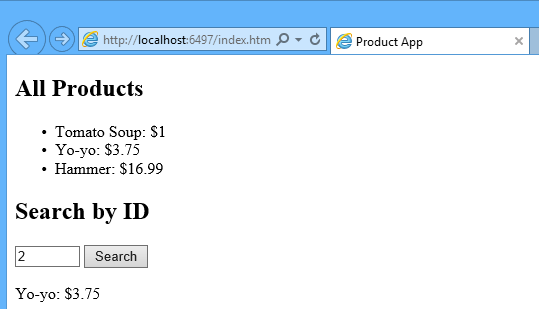
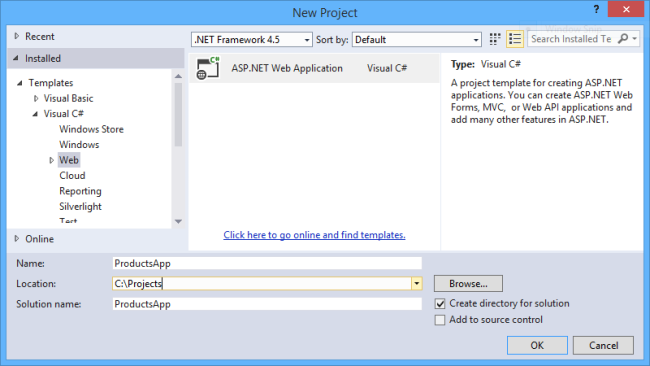
Start Visual Studio and select New Project from the Start page. Or, from the File menu, select New and then Project.
In the Templates pane, select Installed Templates and expand the Visual C# node. Under Visual C#, select Web. In the list of project templates, select ASP.NET Web Application. Name the project "ProductsApp" and click OK.
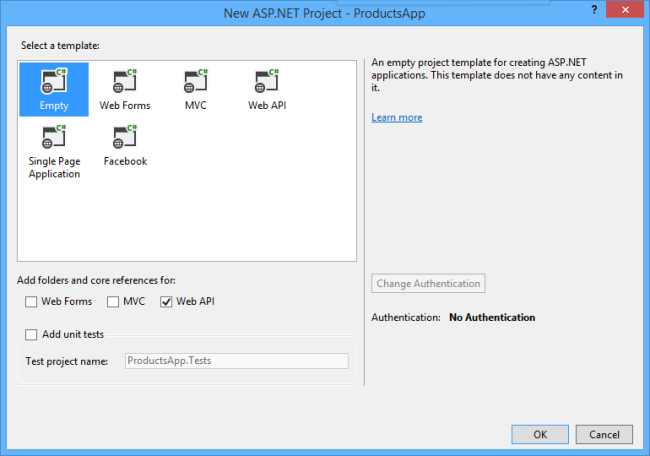
In the New ASP.NET Project dialog, select the Empty template. Under "Add folders and core references for", check Web API. Click OK.
You can also create a Web API project using
the "Web API" template. The Web API template uses ASP.NET MVC to
provide API help pages. I'm using the Empty template for this tutorial
because I want to show Web API without MVC. In general, you don't need
to know ASP.NET MVC to use Web API.
Adding a Model
A model is an object that represents the data in your application. ASP.NET Web API can automatically serialize your model to JSON, XML, or some other format, and then write the serialized data into the body of the HTTP response message. As long as a client can read the serialization format, it can deserialize the object. Most clients can parse either XML or JSON. Moreover, the client can indicate which format it wants by setting the Accept header in the HTTP request message.Let's start by creating a simple model that represents a product.
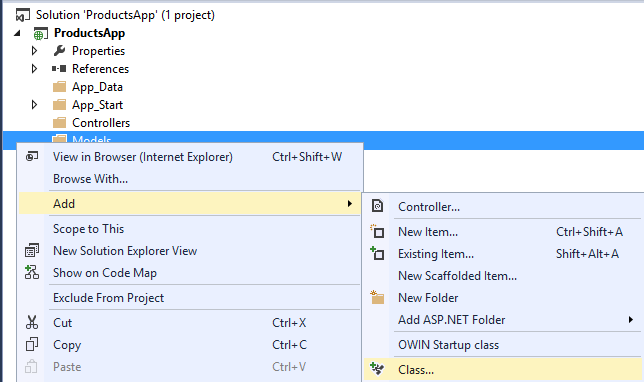
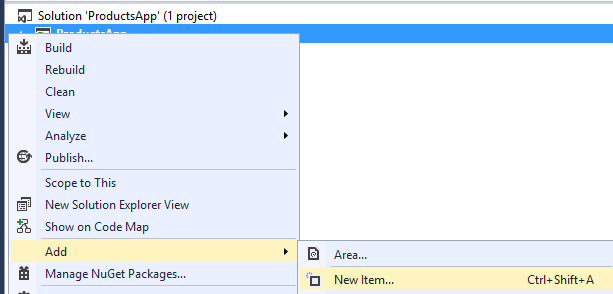
If Solution Explorer is not already visible, click the View menu and select Solution Explorer. In Solution Explorer, right-click the Models folder. From the context menu, select Add then select Class.
Name the class "Product". Add the following properties to the
Product class.namespace ProductsApp.Models { public class Product { public int Id { get; set; } public string Name { get; set; } public string Category { get; set; } public decimal Price { get; set; } } }
Adding a Controller
In Web API, a controller is an object that handles HTTP requests. We'll add a controller that can return either a list of products or a single product specified by ID.
Note If you have used ASP.NET MVC, you are already
familiar with controllers. Web API controllers are similar to MVC controllers, but inherit the ApiController class instead of
the
Controller class.
In Solution Explorer, right-click the Controllers folder. Select Add
and then select Controller.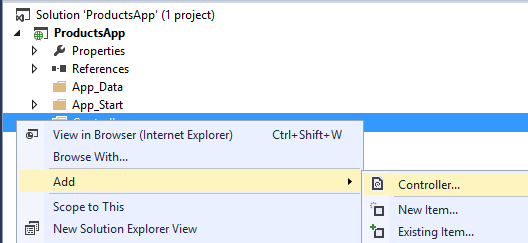
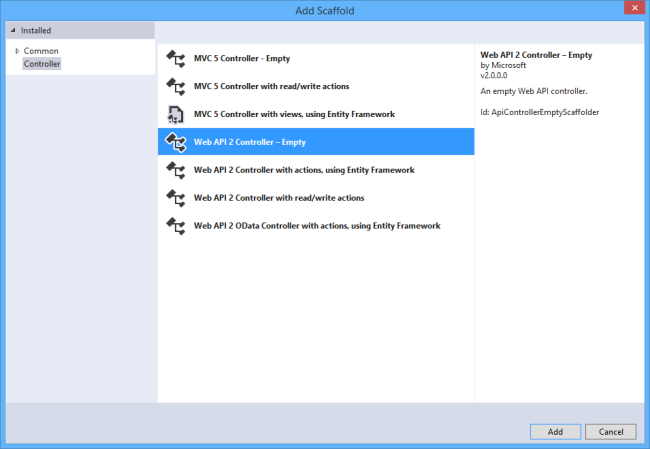
In the Add Scaffold dialog, select Web API Controller - Empty. Click Add.
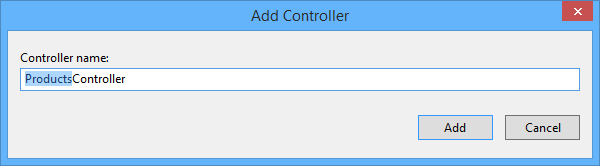
In the Add Controller dialog, name the controller "ProductsController". Click Add.
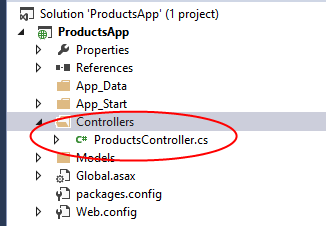
The scaffolding creates a file named ProductsController.cs in the Controllers folder.
You don't need to put your contollers into
a folder named Controllers. The folder name is just a
convenient way to organize your source files.
If this file is not open already, double-click the file to open it. Replace the code in this file with the following:using ProductsApp.Models; using System; using System.Collections.Generic; using System.Linq; using System.Net; using System.Web.Http; namespace ProductsApp.Controllers { public class ProductsController : ApiController { Product[] products = new Product[] { new Product { Id = 1, Name = "Tomato Soup", Category = "Groceries", Price = 1 }, new Product { Id = 2, Name = "Yo-yo", Category = "Toys", Price = 3.75M }, new Product { Id = 3, Name = "Hammer", Category = "Hardware", Price = 16.99M } }; public IEnumerable<Product> GetAllProducts() { return products; } public IHttpActionResult GetProduct(int id) { var product = products.FirstOrDefault((p) => p.Id == id); if (product == null) { return NotFound(); } return Ok(product); } } }To keep the example simple, products are stored in a fixed array inside the controller class. Of course, in a real application, you would query a database or use some other external data source.
The controller defines two methods that return products:
- The
GetAllProductsmethod returns the entire list of products as an IEnumerable<Product> type. - The
GetProductmethod looks up a single product by its ID.
| Controller Method | URI |
|---|---|
| GetAllProducts | /api/products |
| GetProduct | /api/products/id |
GetProduct method, the id in the URI is a placeholder. For example, to get the product with ID of 5, the URI is api/products/5.For more information about how Web API routes HTTP requests to controller methods, see Routing in ASP.NET Web API.
Calling the Web API with Javascript and jQuery
In this section, we'll add an HTML page that uses AJAX to call the web API. We'll use jQuery to make the AJAX calls and also to update the page with the results.In Solution Explorer, right-click the project and select Add, then select New Item.
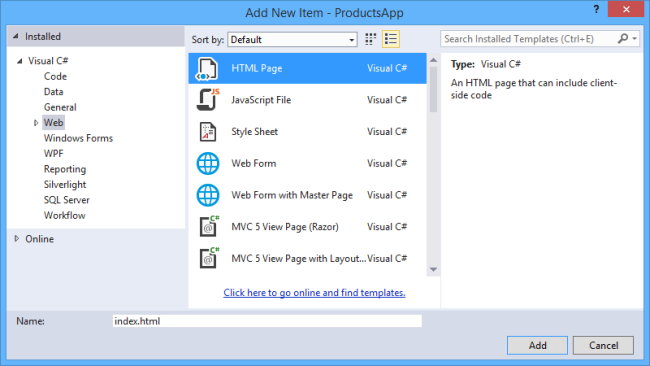
In the Add New Item dialog, select the Web node under Visual C#, and then select the HTML Page item. Name the page "index.html".
Replace everything in this file with the following:
<!DOCTYPE html>
<html xmlns="http://www.w3.org/1999/xhtml">
<head>
  <title>Product App</title>
</head>
<body>

  <div>
    <h2>All Products</h2>
    <ul id="products" />
  </div>
  <div>
    <h2>Search by ID</h2>
    <input type="text" id="prodId" size="5" />
    <input type="button" value="Search" onclick="find();" />
    <p id="product" />
  </div>

  <script src="http://ajax.aspnetcdn.com/ajax/jQuery/jquery-2.0.3.min.js"></script>
  <script>
    var uri = 'api/products';

    $(document).ready(function () {
      // Send an AJAX request
      $.getJSON(uri)
          .done(function (data) {
            // On success, 'data' contains a list of products.
            $.each(data, function (key, item) {
              // Add a list item for the product.
              $('<li>', { text: formatItem(item) }).appendTo($('#products'));
            });
          });
    });

    function formatItem(item) {
      return item.Name + ': $' + item.Price;
    }

    function find() {
      var id = $('#prodId').val();
      $.getJSON(uri + '/' + id)
          .done(function (data) {
            $('#product').text(formatItem(data));
          })
          .fail(function (jqXHR, textStatus, err) {
            $('#product').text('Error: ' + err);
          });
    }
  </script>
</body>
</html>
There are several ways to get jQuery. In this example, I used the Microsoft Ajax CDN. You can also download it from http://jquery.com/, and the ASP.NET "Web API" project template includes jQuery as well.
Getting a List of Products
To get a list of products, send an HTTP GET request to "/api/products".The jQuery getJSON function sends an AJAX request. For response contains array of JSON objects. The
done
function specifies a callback that is called if the request succeeds.
In the callback, we update the DOM with the product information.$(document).ready(function () { // Send an AJAX request $.getJSON(apiUrl) .done(function (data) { // On success, 'data' contains a list of products. $.each(data, function (key, item) { // Add a list item for the product. $('<li>', { text: formatItem(item) }).appendTo($('#products')); }); }); });
Getting a Product By ID
To get a product by ID, send an HTTP GET request to "/api/products/id", where id is the product ID.function find() { var id = $('#prodId').val(); $.getJSON(apiUrl + '/' + id) .done(function (data) { $('#product').text(formatItem(data)); }) .fail(function (jqXHR, textStatus, err) { $('#product').text('Error: ' + err); }); }We still call
getJSON to send the AJAX request, but this
time we put the ID in the request URI. The response from this request
is a JSON representation of a single product.Running the Application
Press F5 to start debugging the application. The web page should look like the following: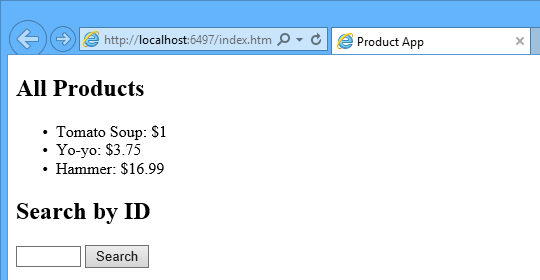
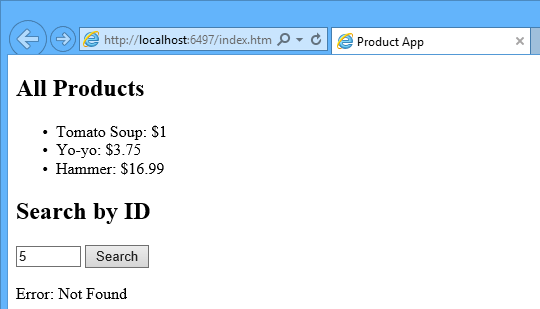
To get a product by ID, enter the ID and click Search:
If you enter an invalid ID, the server returns an HTTP error:
Using F12 to View the HTTP Request and Response
When you are working with an HTTP service, it can be very useful to see the HTTP request and request messages. You can do this by using the F12 developer tools in Internet Explorer 9. From Internet Explorer 9, press F12 to open the tools. Click the Network tab and press Start Capturing. Now go back to the web page and press F5 to reload the web page. Internet Explorer will capture the HTTP traffic between the browser and the web server. The summary view shows all the network traffic for a page: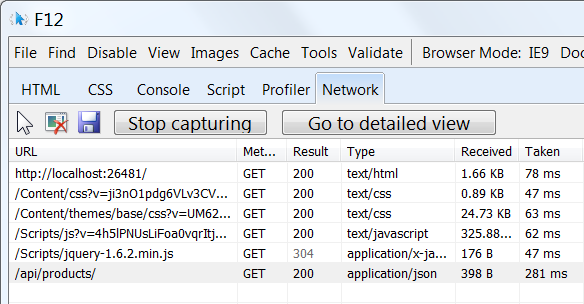
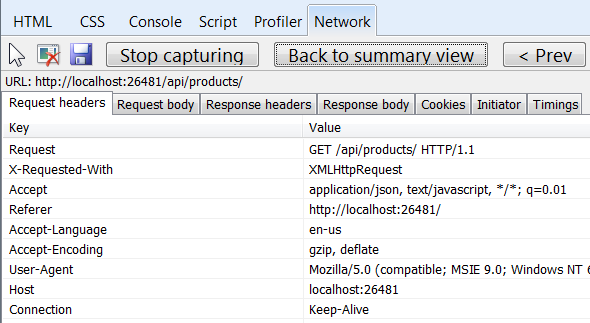
Locate the entry for the relative URI “api/products/”. Select this entry and click Go to detailed view. In the detail view, there are tabs to view the request and response headers and bodies. For example, if you click the Request headers tab, you can see that the client requested "application/json" in the Accept header.
If you click the Response body tab, you can see how the product list was serialized to JSON. Other browsers have similar functionality. Another useful tool is Fiddler, a web debugging proxy. You can use Fiddler to view your HTTP traffic, and also to compose HTTP requests, which gives you full control over the HTTP headers in the request.
No comments:
Post a Comment