Lets us discuss how can we create a visual web part using Visual Studio 2010 for SharePoint 2010.
Follow the below steps to do so:
Step-1:
Go to Start -> All Programs -> Microsoft Visual Studio 2010 and from that Select Microsoft Visual Studio 2010. This will open your Visual Studio 2010.
Step-2:
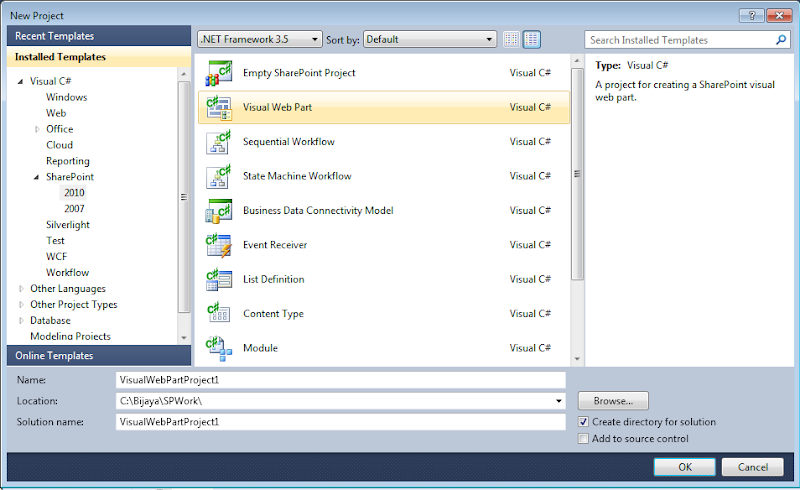
Now File -> New -> Project and from the list of project templates select Visual Web Part and give a name and click on ok as shown in the figure.
Step-3:
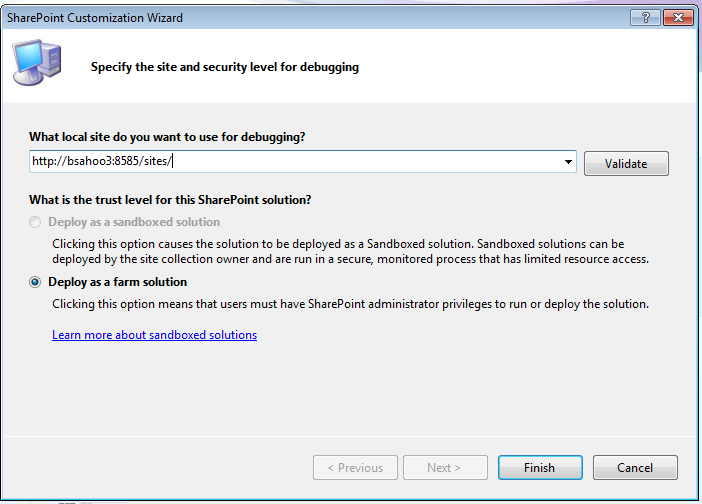
In the next step in the SharePoint customization wizard, we have to give the local site url for debugging and we have to choose Deploy as farm solution. Remember one thing we can not deploy visual web part in sandboxed solution. Then click on Finish as shown in fig below.
Step-4:
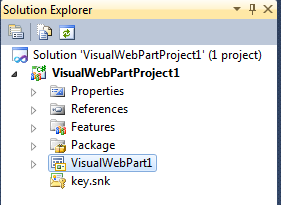
Now our web part is ready, if you will look at the solution explorer then you will able to see a file name as VisualWebPart1 which is nothing but a user control as shown in the figure below.
Just to let you know that, since its a user control you can write code as you are writting code in web user controls. For demo purpose I am taking the below code:
VisualWebPart1UserControl.ascx:
<asp:Button ID="btnClick" runat="server" Text="Clcik Here" />
<br />
<asp:TextBox ID="txtName" runat="server"></asp:TextBox>
<br />
<asp:Label ID="lblResult" runat="server" Text=""></asp:Label>
VisualWebPart1UserControl.ascx.cs code:
using System;
using System.Web.UI;
using System.Web.UI.WebControls;
using System.Web.UI.WebControls.WebParts;
namespace VisualWebPartProject1.VisualWebPart1
{
public partial class VisualWebPart1UserControl : UserControl
{
protected void Page_Load(object sender, EventArgs e)
{
}
protected void btnClick_Click(object sender, EventArgs e)
{
lblResult.Text = txtName.Text;
}
}
}
Now since we finished our coding part, it time for build and deploy. Right click on the solution explorer click on Build Solution. After Rebuild all succeeded you can deploy the solution by right click on the Solution explorer then click on Deploy Solution.
Once the deployment succeeded it will be available to the web part gallery.
No comments:
Post a Comment